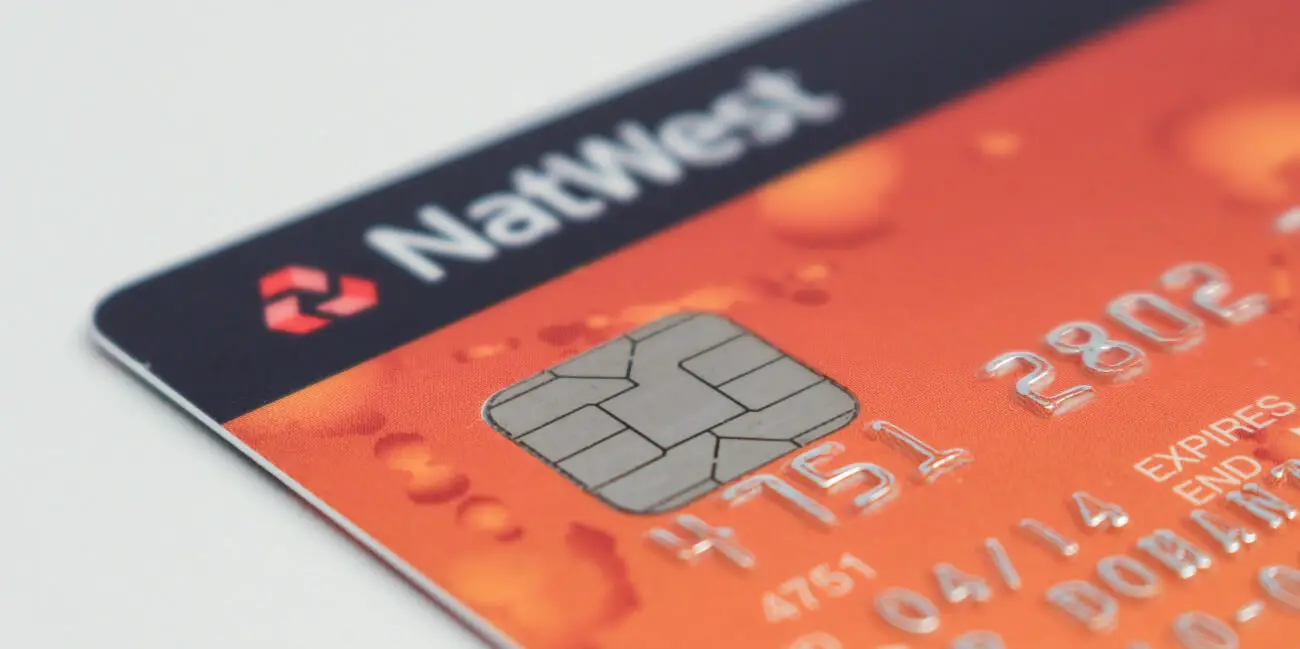
How to accept credit card payments on your website
There are a variety of ways to accept credit card payments on your website, but many of them require extensive technical ability or paying a premium for online store platforms..
With the continued popularity of e-commerce, more and more small businesses are deciding to sell their products online. For the lean entrepreneur, there is a ton of incentive to selling online- no brick and mortar overhead, minimal staff to pay, plus you can manage your online sales remotely, from the comfort of your own home. However, as soon as we begin to explore the online payment integration options that are readily available, we are confronted with two realities:
- Custom integration of online payment gateways requires serious technical skill (for payments to be secure/encrypted you need token generation, API calls, etc.).
- Online selling platforms like Shopify and Wordpress plugins require membership fees, which decrease margins and scare away bootstrapped entrepreneurs.
Customers want a trustworthy, secure, and (most of all) simple way to process payments on your website. Business owners on the other hand, want simplicity of integration and flexibility to customize. As a moderately experienced web developer with a frugal operation, I spent weeks digging for a platform that solved my need to process payments. If you're still in the process of creating a website for the first time, I wrote this guide on how I set up Millennial Moderator for less than $0.50 USD/month. If you're looking for more technical training, I suggest Udemy, they have tons of courses on web development.
How to accept payments on your website with PayPal
At first I relied on PayPal for processing payments on my website, primarily for its familiarity and relative ease of use. But even PayPal has limitations that didn’t quite satisfy me. For one, every PayPal payment requires a redirect from your website to the PayPal website, which although is necessary for secure payment processing, adds an unnecessary step to the customer purchase process (I'm a huge nut for proper funnel management). That, plus it’s relatively limited customization options turned me off from using the platform in the long-term. PayPal is however, a very popular and widely recognized service and great if you're just looking to accept donations. Here's a short guide to using PayPal buttons that might help.
The obvious follow up to PayPal for payment integration is the Stripe platform, but Stripe falls into the category of "requires technical ability". To generate payments through Stripe, you have to create API calls, one-time tokens (you need a server), and more. Thankfully, I discovered a beautiful partnership between Stripe and Checkoutpage.co (a simplified payment processor) that not only satisfies all of my criteria, but is free to use (small percentage deducted from transactions) and relatively lightweight on my website. Here are the basic steps of how I setup this payment processing solution on my website using these two platforms, followed by a more in-depth walkthrough of the process:
How to accept credit card payments on your website with Stripe and Checkoutpage.co
- 1. Create a Stripe account.
- 2. Create a Checkoutpage.co account.
- 3. Connect your Checkoutpage.co account to your Stripe account.
- 4. Create your sellable products through the Checkoutpage.co dashboard.
- 5. Integrate Checkoutpage.co into your website using HTML & JS.
- 6. Test and confirm that transactions are processing on both Stripe and Checkoutpage.co
- 7. Start selling your stuff!
Here's an example of what this payment processor looks like when set up:
Pretty neat and useful, eh? Now, let's dive into the details of how to set this up.
Start accepting payments with Stripe
Stripe is arguably the second most trustworthy payment processing software online, after PayPal. It’s an extremely robust tool with tons of helpful documentation and enterprise level support for those who may need it. Like many online tools, it features an assortment of third party extension support and gives unlimited customization options. The only catch- it can get a bit technical. When I first looked into Stripe I was deterred by the need to set up API calls. The website I built was completely static and switching to server hosting would be both time consuming and expensive. I’m not a cheap guy, just practical. The real value I found in Stripe was its wide variety of integrations and customer support, so setting up a (free) account was a no-brainer.
Opening an account with Stripe is easy, just head over to their register page and you’ll be set up in minutes. Remember that Stripe is responsible for actually paying you for transactions, so be sure to fill out all information thoroughly and correctly. Stripe will also ask you for personal information like SSN, for tax purposes (they have to).
Set up payment forms with Checkoutpage.co
Checkoutpage.co on the other hand, is an extremely intuitive front-end software that creates popup forms that can be integrated onto any webpage using just HTML and Javascript. Once you create a Checkoutpage.co account on their website, you can immediately navigate to their /pages/new section and create your first, one time or recurring payment “product”. Upon creation, Checkoutpage.co will ask you to link your existing Stripe account- a fairly intuitive process that simply requires you to “allow” Checkoutpage.co to access Stripe on your behalf. Once connected, you can begin to create your first, sellable products!
Product customization on Checkoutpage.co is fairly intuitive. Aside from setting the product name and cost (in USD), you can add custom image banners, descriptions, fields to capture customer data (email, name, address for shipping, etc) and a variety of other settings, including where to redirect users after payment is processed. You can learn more about the available options of Checkoutpage.co on their knowledge page.
Connecting these two services is a one-time process. Once your Checkoutpage.co account is connected to your Stripe account, any product you create will automatically route payments to you, automatically.
Adding the payment button to your website
Once your product is created on Checkoutpage.co and connected to Stripe, you can begin to integrate it into your website. From the Checkoutpage.co product page (the page where you can edit your product details), you’ll want to select the use button, which will load a popup that contains a variety of integration options. In this case, we’ll navigate down to the "add as a pop-up on your site” option. From here, you’ll need to copy both the Javascript and HTML code and drop them into the source code of your webpage (whatever page you want the payment integration to be on). As a reminder, Javascript will be placed in either your HEAD or FOOTER as a < script > tag and the HTML will be added wherever you want the button to appear on the page.
If coding isn't your forte, I strongly recommend taking a course on basic web development, like the ones offered on Udemy.com. They're relatively inexpensive and can really open up the possibilities for not only your websites, but your professional career (and might even lead to some remote jobs, if you're into that sort of thing). I actually taught myself coding, and wrote a bit more about my learning process here.
Once both the HTML and JS have been injected and updated on your website, you can reload your page and try clicking the button. What should appear is a mid screen popup that prompts the user for payment method information plus any other criteria you’ve specified on your product page in Checkoutpage.co. From this pop-up, customers can input their payment information and purchase your product.
Note: your website should be served over HTTPS, meaning it has an SSL (the little padlock in your browser that indicates a website is secure). Not having this will result in an “unsecure” message being displayed to your customers when they click your payment button, which will greatly reduce chances of them completing a purchase (it's a trust thing). SSL is also a common factor for why Wifi login pages don't work, for which I suggest using neverssl. I may decide to write a Mod about setting up SSL on a website in the near future but, for now, this guide should help. If you have any questions or would like some general guidance, feel free to contact my on my website.
Again, here's an example of the finished product:
Now that you have a payment button on your website, you can spend more time developing your product and less time worrying about how to actually sell it. Checkoutpage.co and Stripe each offer their own support as well, incase you have questions about either platform in particular. If this is a product you are trying to sell and make passive income from, I definitely recommend checking out this guide I wrote about creating an effective marketing funnel.
If you enjoyed this Mod and found it useful, you might also enjoy this Mod about a third-party website that lets you compare Amazon item prices on a per-unit basis. Please share this Mod using any of the social media icons below! Any questions or comments? Let us know on Twitter!

